Looking to embark on a swashbuckling adventure? Dive into the world of pirates with our guide on how to make a pirate map. Get ready to unleash your inner buccaneer as we take you through each step of crafting a treasure map fit for a pirate’s hoard. From gathering materials to adding aging effects, we’ll show you how to create an authentic and captivating map that will have you and your crew feeling like true pirates of the high seas. So, grab your compass and spyglass, and let’s set sail on this exciting journey!
How to Make a Pirate Map
Gather Materials

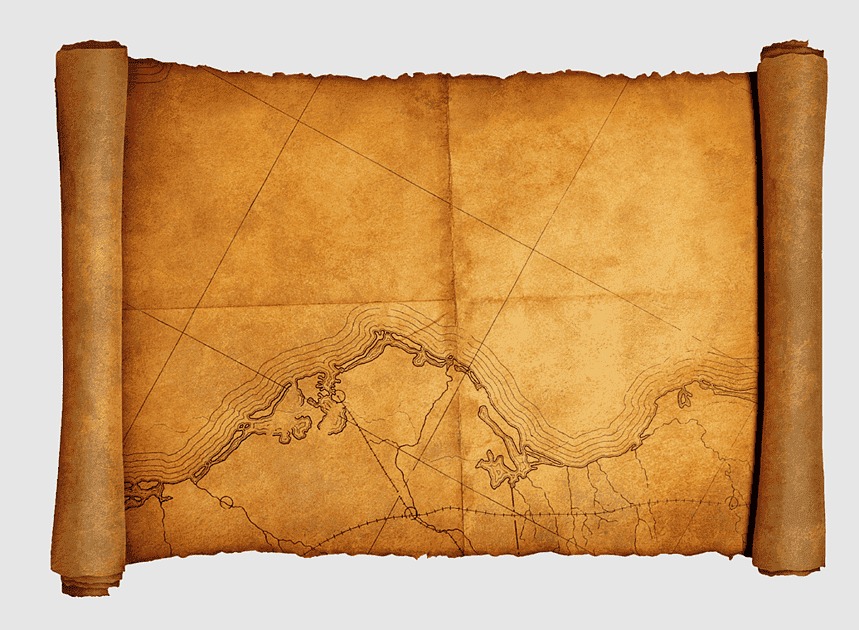
To begin crafting your pirate map, gather materials such as parchment paper, tea bags, and ink. Choose materials that evoke an authentic pirate feel. Parchment paper gives the map an aged appearance, while tea bags add a weathered look. Ink pens or markers will be used to draw the map’s details and landmarks. Additionally, consider adding embellishments like torn edges or burnt edges for added authenticity. Look for materials that can withstand aging techniques and won’t easily tear or smudge. With the right materials in hand, you’re ready to embark on your pirate map-making adventure!
Choose Parchment Paper
When creating a pirate map, it’s crucial to choose the right paper to capture the essence of adventure. Parchment paper is an ideal choice, providing an authentic and aged appearance that adds to the map’s charm and intrigue. Its texture and color mimic the look of ancient maps, evoking the spirit of exploration and treasure hunting. Additionally, parchment paper is durable and easy to work with, allowing you to create intricate designs and details with ease. Whether crafting a map for a party or personal enjoyment, parchment paper sets the stage for a captivating journey into the world of pirates and hidden treasures.
Create a Template
Creating a template for your pirate map is a crucial step in ensuring consistency and ease of design. Start by sketching out the basic layout of your map, including key elements such as islands, a compass rose, and a legend. Once you have a rough outline, transfer it onto your parchment paper using a pencil or light pen. You can then begin adding more intricate details, such as land features, landmarks, and hidden treasure locations. Don’t forget to leave space for text and embellishments! By creating a template, you’ll have a solid foundation to build upon as you bring your pirate map to life.

Design Landmarks and Routes
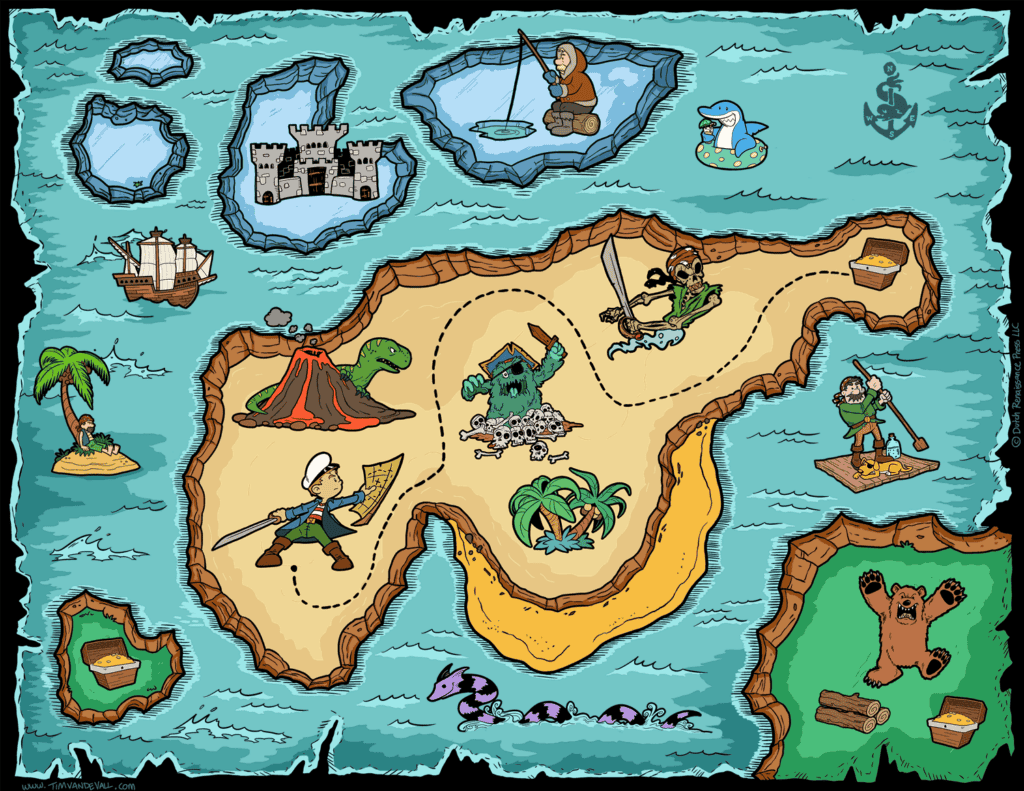
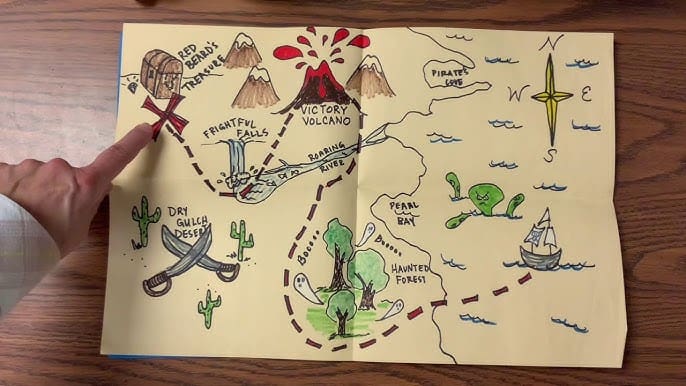
Designing landmarks and routes is where the true adventure of creating a pirate map begins. Start by plotting out the main features of your map, such as islands, mountains, and coastlines. Then, add in key landmarks like caves, shipwrecks, and hidden coves. Use symbols and icons to represent these features, and don’t forget to include a compass rose to indicate direction. Next, sketch out the routes that pirates might take to navigate the map, including winding paths, treacherous waters, and secret passages. Be creative and add plenty of detail to make your map come alive with excitement and intrigue!
Add Aging Effects
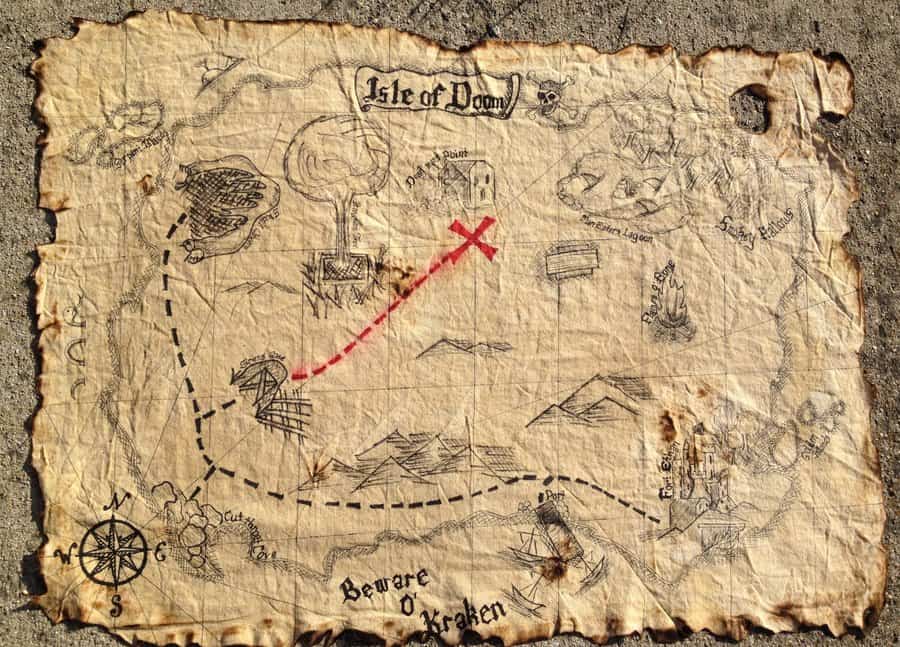
Adding aging effects to your pirate map is essential for authenticity and immersion. Start by crumpling the parchment paper to create creases and wrinkles, giving it a weathered appearance. Then, use a damp tea bag or coffee to stain the paper, creating an aged and yellowed look. You can also singe the edges of the map with a lighter or candle to simulate fire damage. For extra detail, add ink blots, smudges, and faded areas to mimic the passage of time. These aging effects will give your pirate map a realistic and intriguing appearance, adding to the sense of adventure for anyone who sets eyes upon it.
Incorporate Details and Clues

Incorporating details and clues into your pirate map adds depth and intrigue to your creation. Consider adding symbols, such as X marks for buried treasure or compass roses for navigation. Include landmarks, like islands, mountains, or palm trees, to help adventurers orient themselves. Use cryptic messages, riddles, or cipher codes to challenge seekers and enhance the mystery of your map. Remember to include labels for important locations, such as “Treasure Island” or “Cave of the Lost Souls.” By incorporating these details and clues, you’ll transform your pirate map into an immersive and engaging adventure for those who dare to explore its secrets.
Present and Use the Map
Once your pirate map is complete, it’s time to present and use it for your adventure. Roll up the map and tie it with a ribbon or string to give it an authentic pirate feel. You can also stain the edges with tea or coffee to age the paper further. When presenting the map, set the scene with pirate-themed decor and props to enhance the experience. During the adventure, guide your fellow pirates with the map, following the clues and landmarks to uncover hidden treasures or embark on daring quests. With your well-crafted pirate map in hand, let the adventure begin!
Choose Captain Fantastic for Pirate Party
Captain Fantastic is the perfect choice for your pirate party! With their expertise in children’s entertainment, they’ll bring the excitement and adventure of the high seas right to your doorstep. From thrilling games to interactive storytelling, Captain Fantastic will ensure that your little pirates have an unforgettable experience. So hoist the sails and set a course for fun with Captain Fantastic at your next pirate party!
Conclusion
In conclusion, crafting a pirate map is an exciting adventure in itself, full of creativity and imagination. By following the steps outlined above, you can embark on a journey to create your own treasure map that will captivate and delight. From gathering materials to incorporating aging effects and details, each step adds depth and authenticity to your map. So gather your crew, set sail on your imagination, and chart a course to hidden treasures with your one-of-a-kind pirate map. With these tips, you’re well on your way to mastering the art of mapmaking and creating memorable adventures.
Read More Pirate Theme Party For Adults: Amazing Decorations
FAQ’S
You’ll need parchment paper, markers, tea bags, and a magnifying glass.
Use tea bags to stain the paper, crumple it, and singe the edges for an authentic look.
Yes, you can design and print a map using software like Photoshop or online map-making tools.

